No edit summary |
|||
| Line 9: | Line 9: | ||
|common enemies=[[Snooter]], [[Rocky]], [[Roly-Poly]], [[Cupie]], [[Bomber]] |
|common enemies=[[Snooter]], [[Rocky]], [[Roly-Poly]], [[Cupie]], [[Bomber]] |
||
}} |
}} |
||
| − | '''Candy Constellation''' is the ninth and final level in ''[[Kirby & the Amazing Mirror]]'' following [[Radish Ruins]]. |
+ | '''Candy Constellation''' is the ninth and final level in ''[[Kirby & the Amazing Mirror]]'', following [[Radish Ruins]]. |
==General Information== |
==General Information== |
||
| − | Candy Constellation is a large |
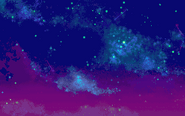
+ | Candy Constellation is a large mechanical construct and the surrounding asterism. It is located in the [[Mirror World]]'s vast and starry galaxy. It's a very nice view full of nebulae and cosmic orange clouds. To reach it, [[Kirby]] must find and use a [[Warp Star]] hidden in some levels, the first being located on the roof of [[Moonlight Mansion]], the next atop [[Mustard Mountain]] and the third in [[Peppermint Palace]]. |
| + | Candy Constellation, taking place in space, takes place atop comets and asteroids at certain times. But for the majority of the level Kirby must navigate through an immense, long-forgotten space-station located in the farthest reaches of the galaxy. This area is filled with puzzles. The bosses of the level, [[Master Hand]] and [[Crazy Hand]], are derived from the ''[[Super Smash Bros. Melee]]''. |
||
| − | <br clear="both"/> |
||
| − | |||
| − | ==Map== |
||
| − | [[File:Map Candy Constellation.png|660px]] |
||
==Music== |
==Music== |
||
| Line 30: | Line 27: | ||
Image:Candy C2.png|Kirby swimming in water suspended by the galaxy's gravity. |
Image:Candy C2.png|Kirby swimming in water suspended by the galaxy's gravity. |
||
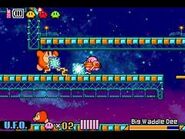
Image:Candy C3.png|In the earlier section of the level inhaling an enemy. |
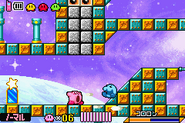
Image:Candy C3.png|In the earlier section of the level inhaling an enemy. |
||
| − | Image:Candy C4.png| |
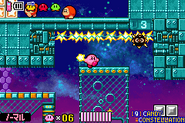
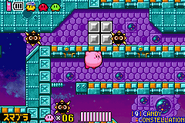
+ | Image:Candy C4.png|Kirby making his way through a [[Gordo]]-infested tunnel. |
Image:Candy C5.png|Kirby running through a spacial tunnel. |
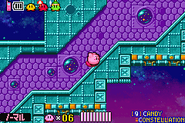
Image:Candy C5.png|Kirby running through a spacial tunnel. |
||
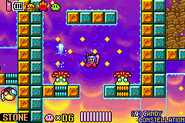
Image:Candy C6.png|About to enter another hidden room in the level. |
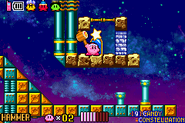
Image:Candy C6.png|About to enter another hidden room in the level. |
||
Revision as of 22:37, 25 July 2012
Candy Constellation is the ninth and final level in Kirby & the Amazing Mirror, following Radish Ruins.
General Information
Candy Constellation is a large mechanical construct and the surrounding asterism. It is located in the Mirror World's vast and starry galaxy. It's a very nice view full of nebulae and cosmic orange clouds. To reach it, Kirby must find and use a Warp Star hidden in some levels, the first being located on the roof of Moonlight Mansion, the next atop Mustard Mountain and the third in Peppermint Palace.
Candy Constellation, taking place in space, takes place atop comets and asteroids at certain times. But for the majority of the level Kirby must navigate through an immense, long-forgotten space-station located in the farthest reaches of the galaxy. This area is filled with puzzles. The bosses of the level, Master Hand and Crazy Hand, are derived from the Super Smash Bros. Melee.
Music
| The following section contains transcluded content from the Database. Source: (view • edit • help) |
